In Sanka, each payment record is assigned a unique ID, enabling linkage with necessary information such as products and business partners.
Furthermore, you can set the status (Draft, Sent, Scheduled, Paid) for each record, facilitating easy status tracking.
How to create a payment record
How to issue a receipt
How to revise registered information
How to archive payment information
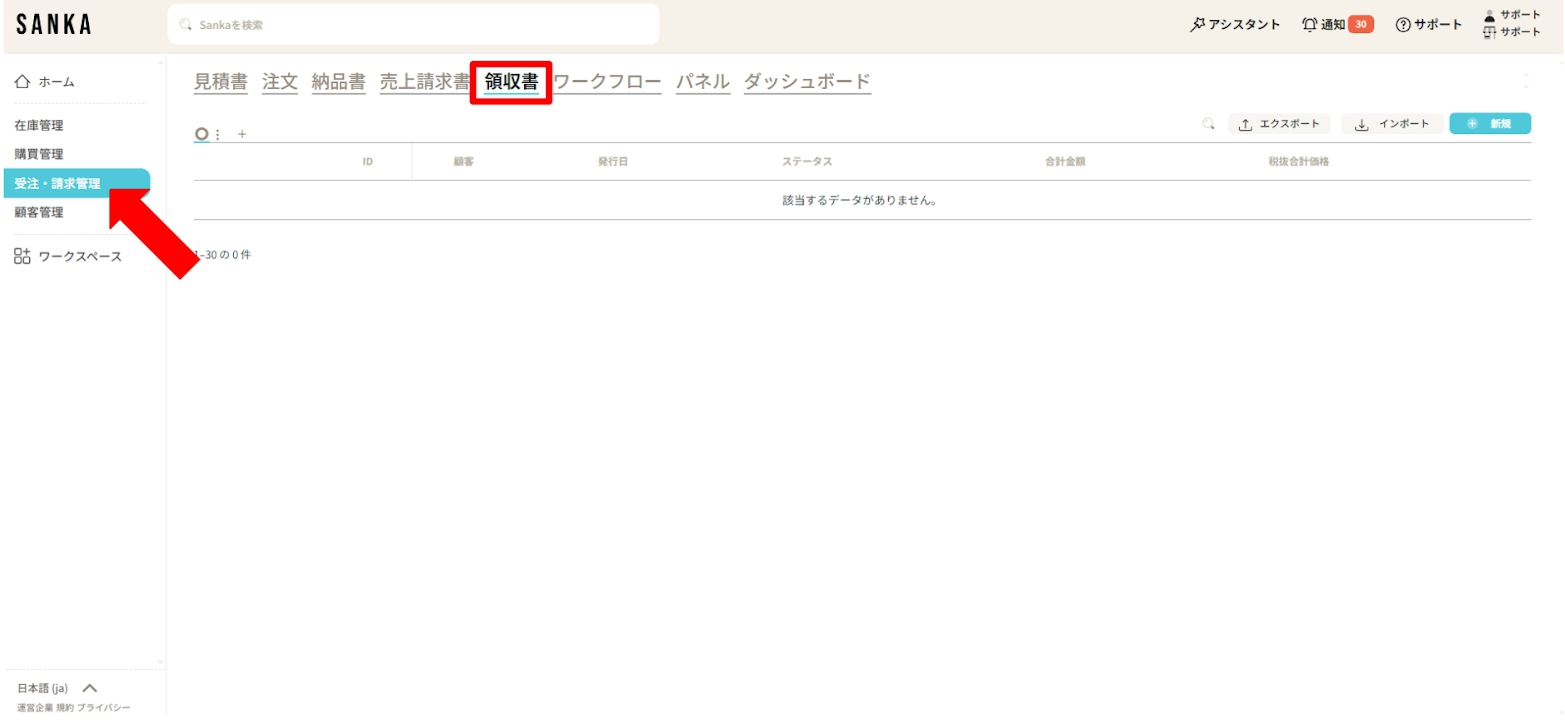
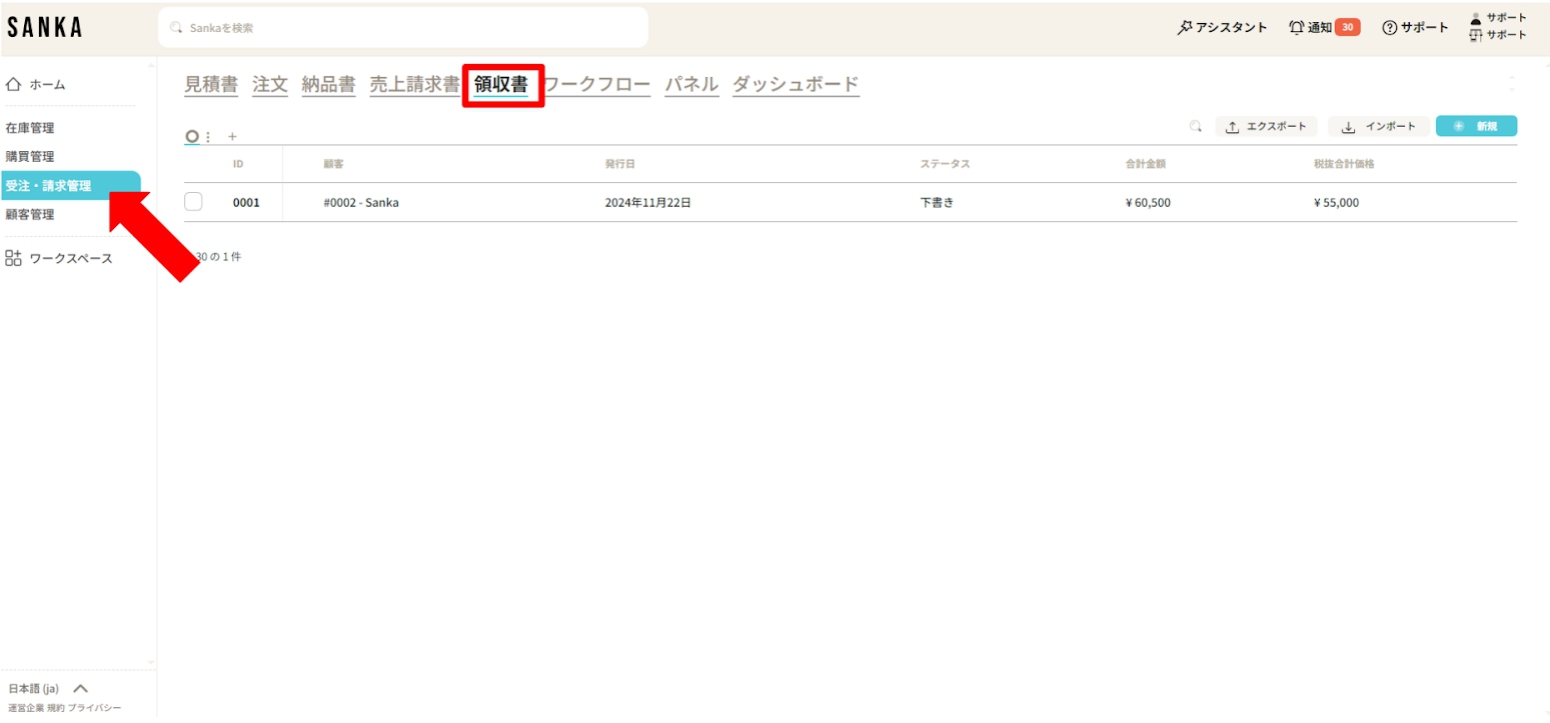
①「Deposit」object is selected.
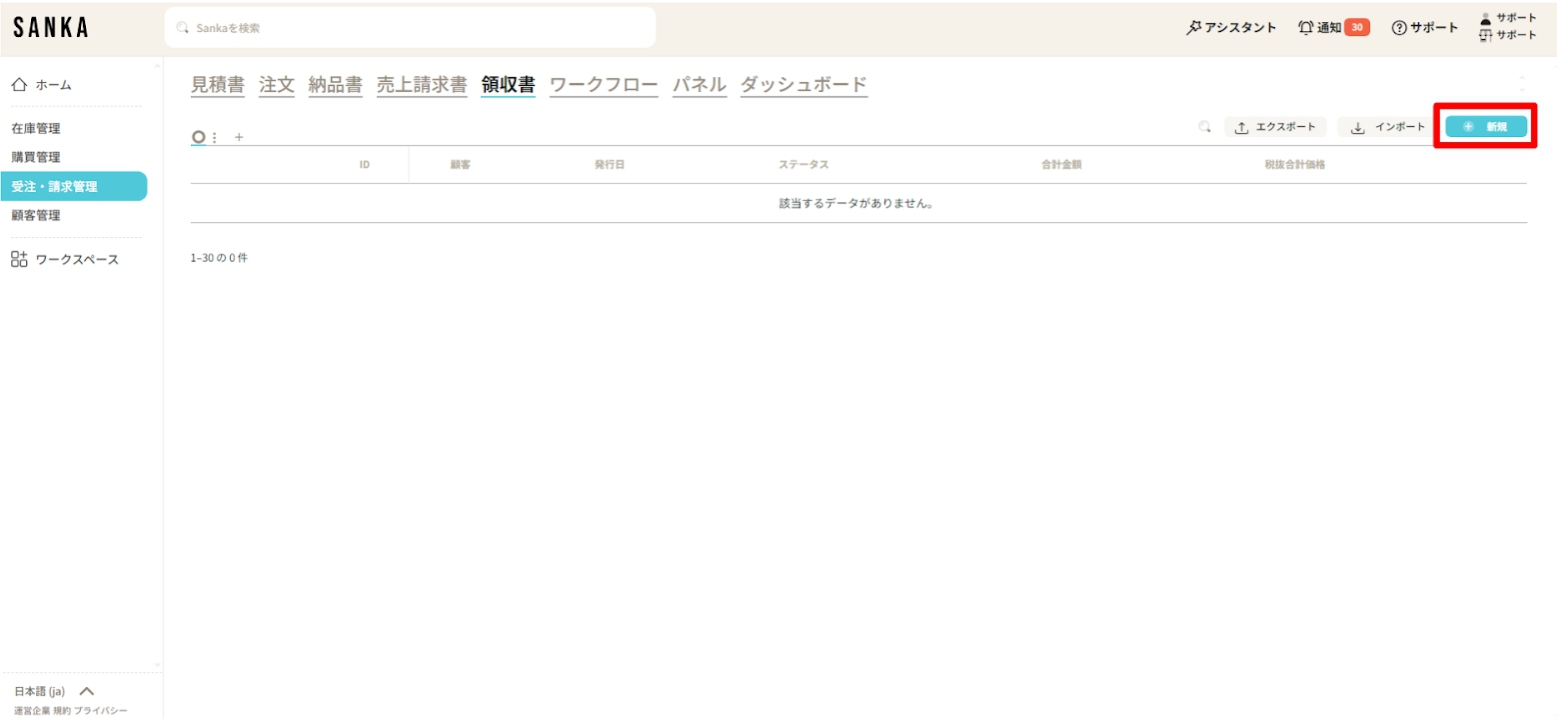
② Click the “New” button at the top right of the screen.
③ The “Create Deposit” menu will appear. Please enter the required information.
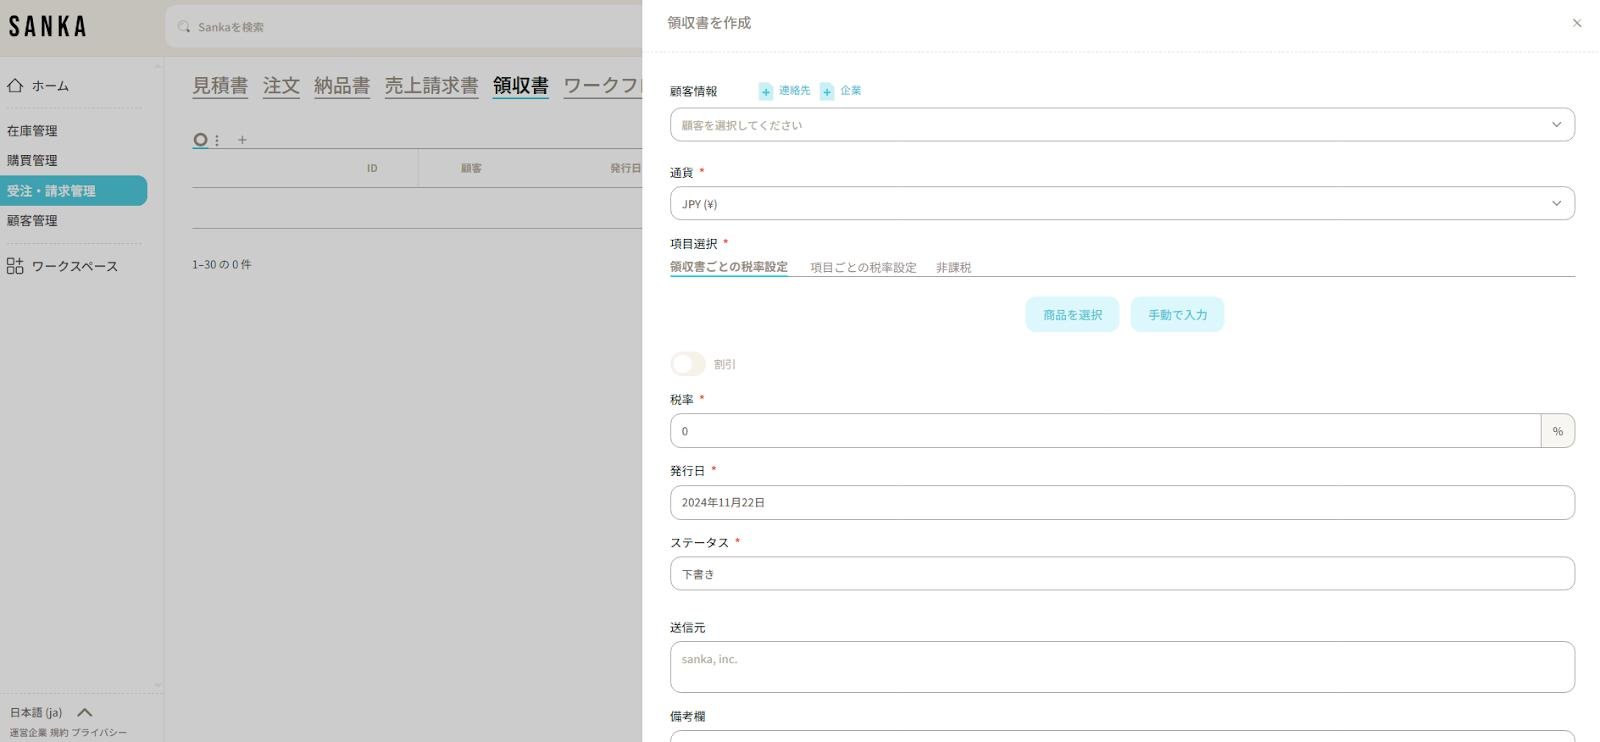
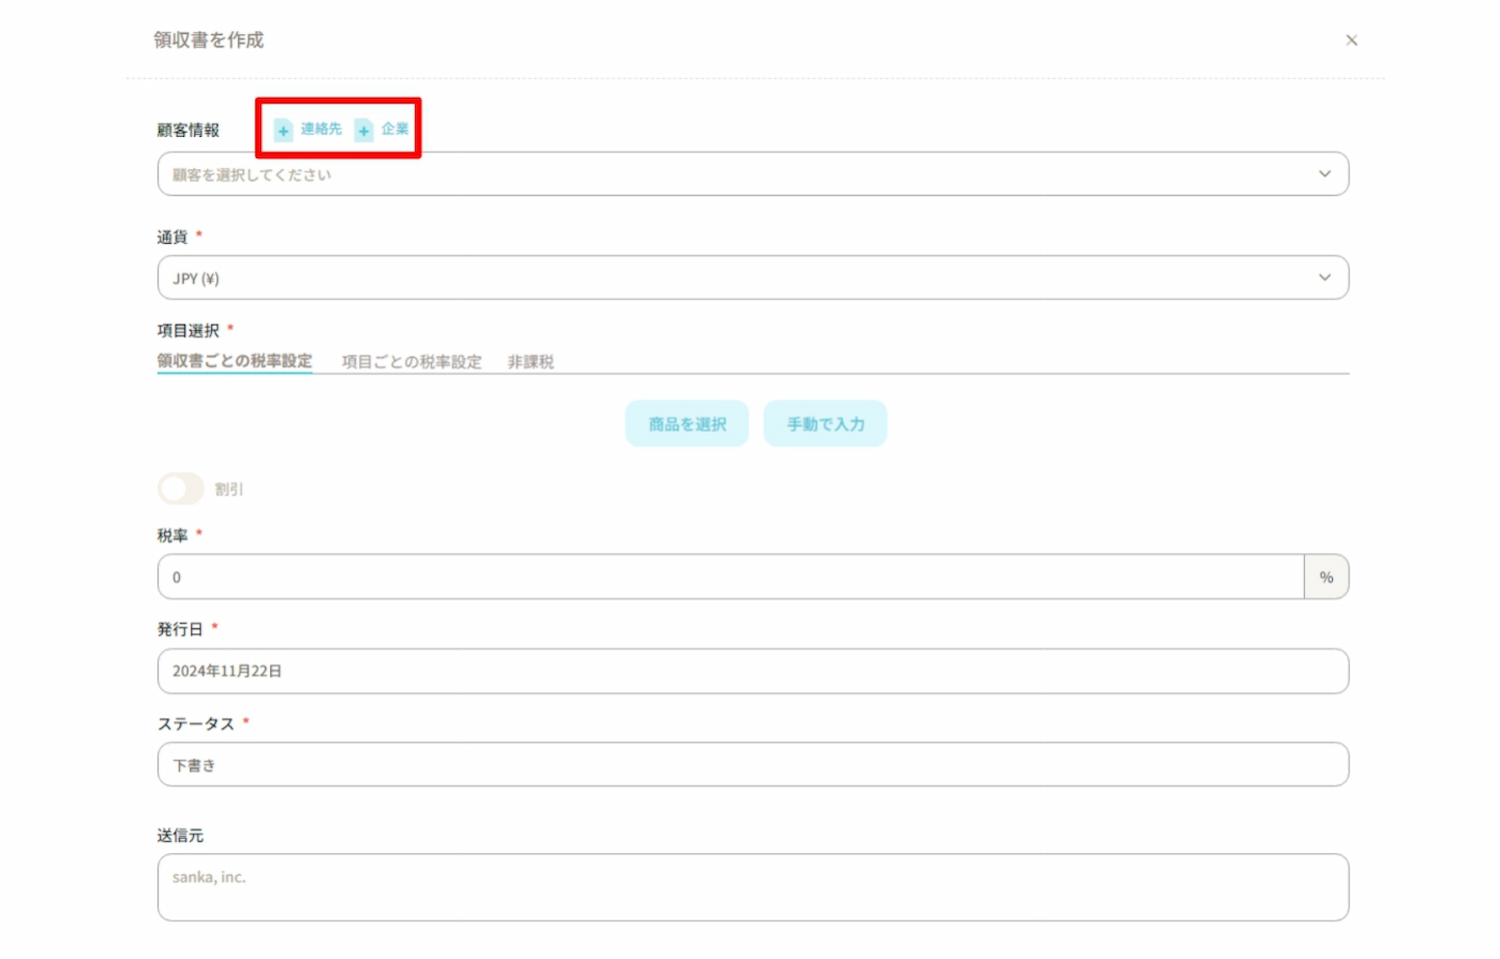
④ Click “Customer Information” to display registered business partner information (for instructions on how to create a supplier master, please refer to here).
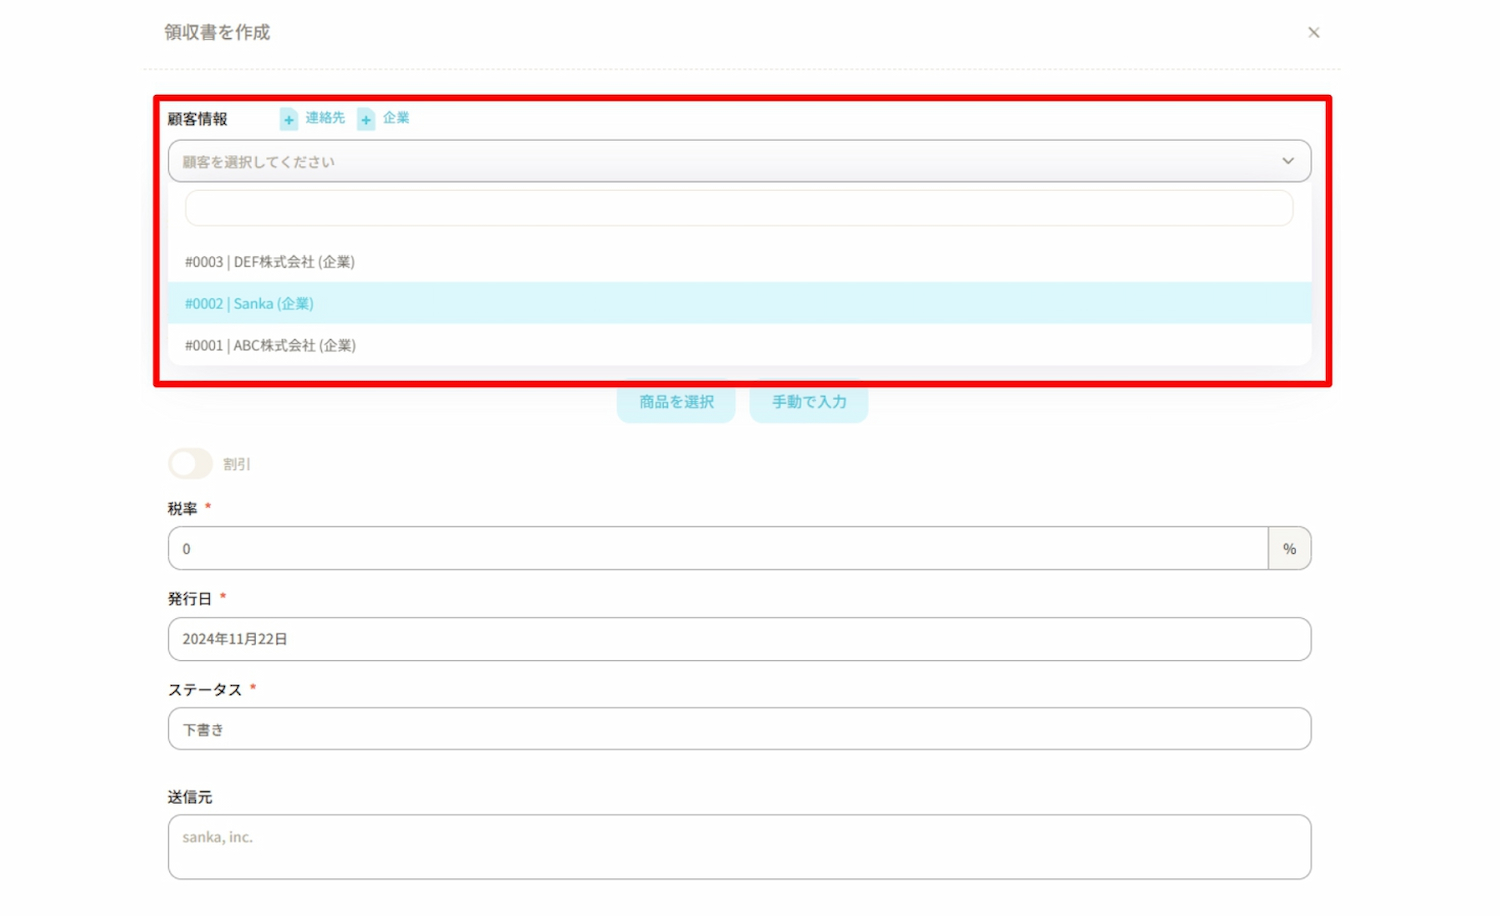
If there is no information regarding the business partner, you can also add it directly from the “+Contact” or “+Company” buttons.
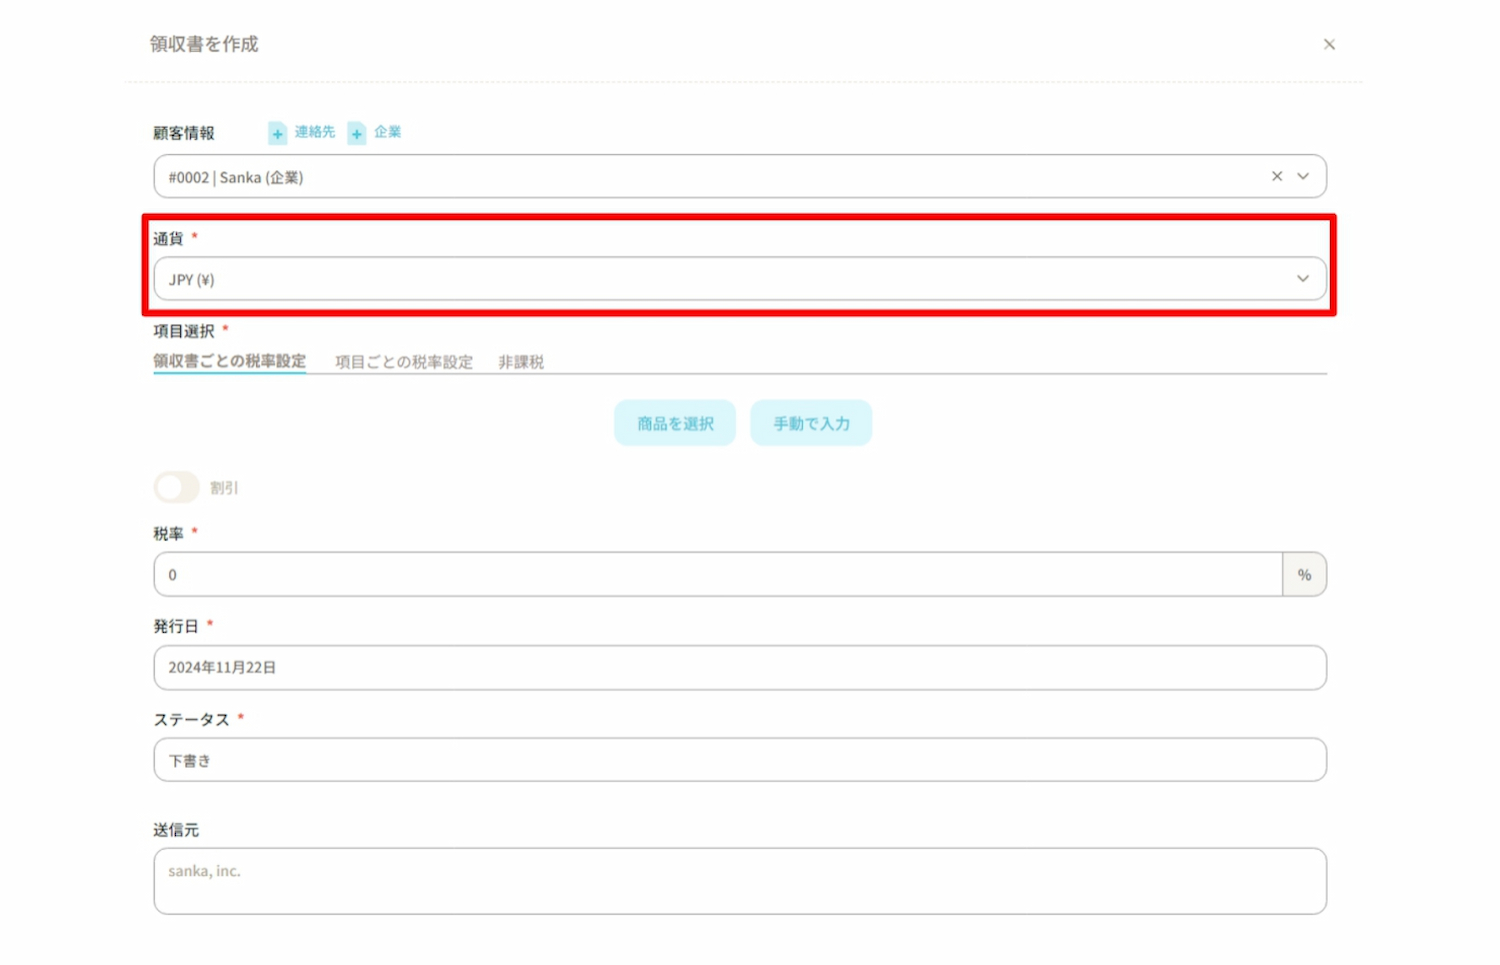
⑤ Select “Currency”.
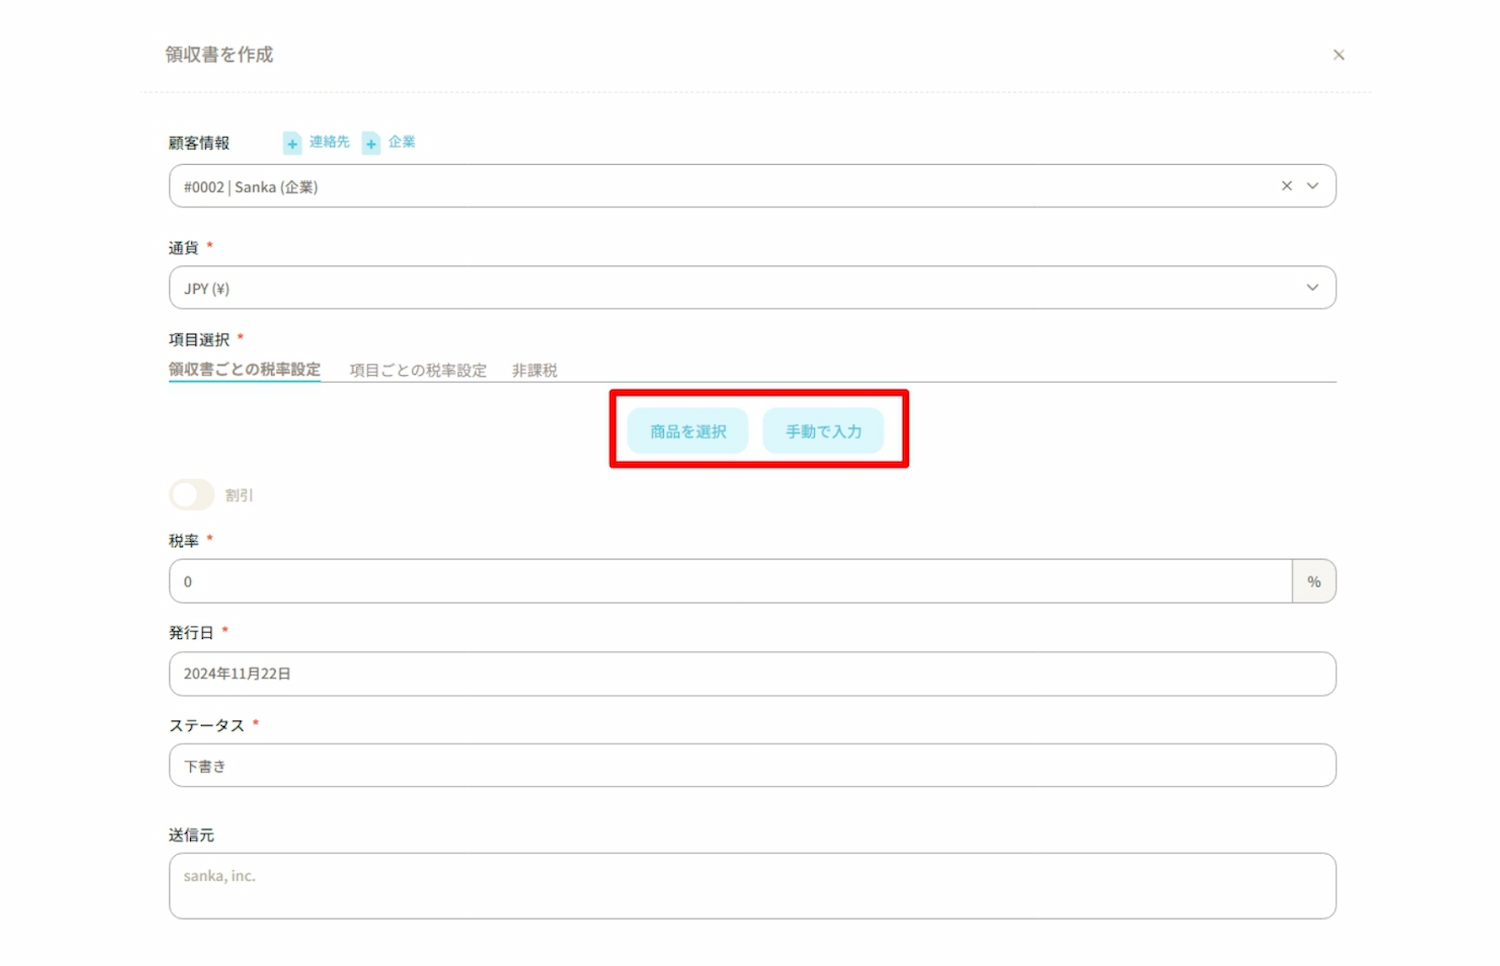
⑥Select the products to be listed in Deposit.
There are two methods for entering product information as outlined below.
・Select product: This is the method of selecting the relevant product from the product master already registered in Sanka. For information on how to create a product master, refer to here.
・Manual entry: This is the method of manually inputting product information.
Here, we will proceed by clicking on “Select product”.
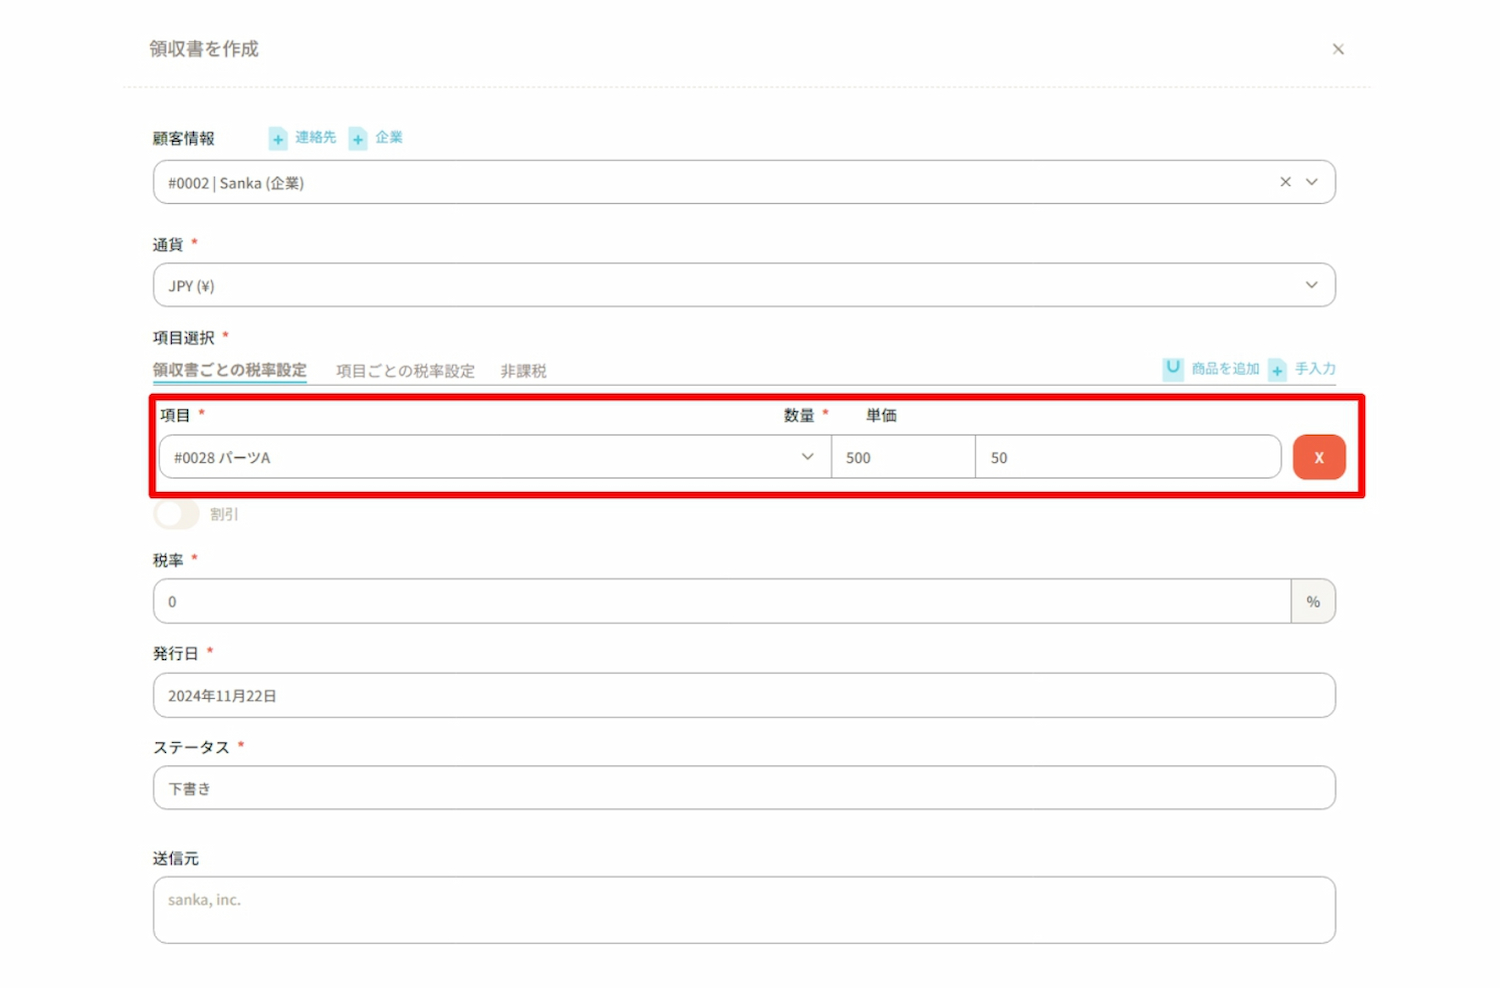
⑦ When you select a product, products registered in the product master will be displayed.
In this example, we will create a deposit record for 500 units of Part A and 300 units of Part B.
First, select Part A and enter a quantity of 500 units.
Please note that the unit price automatically reflects the amount registered in the product master.
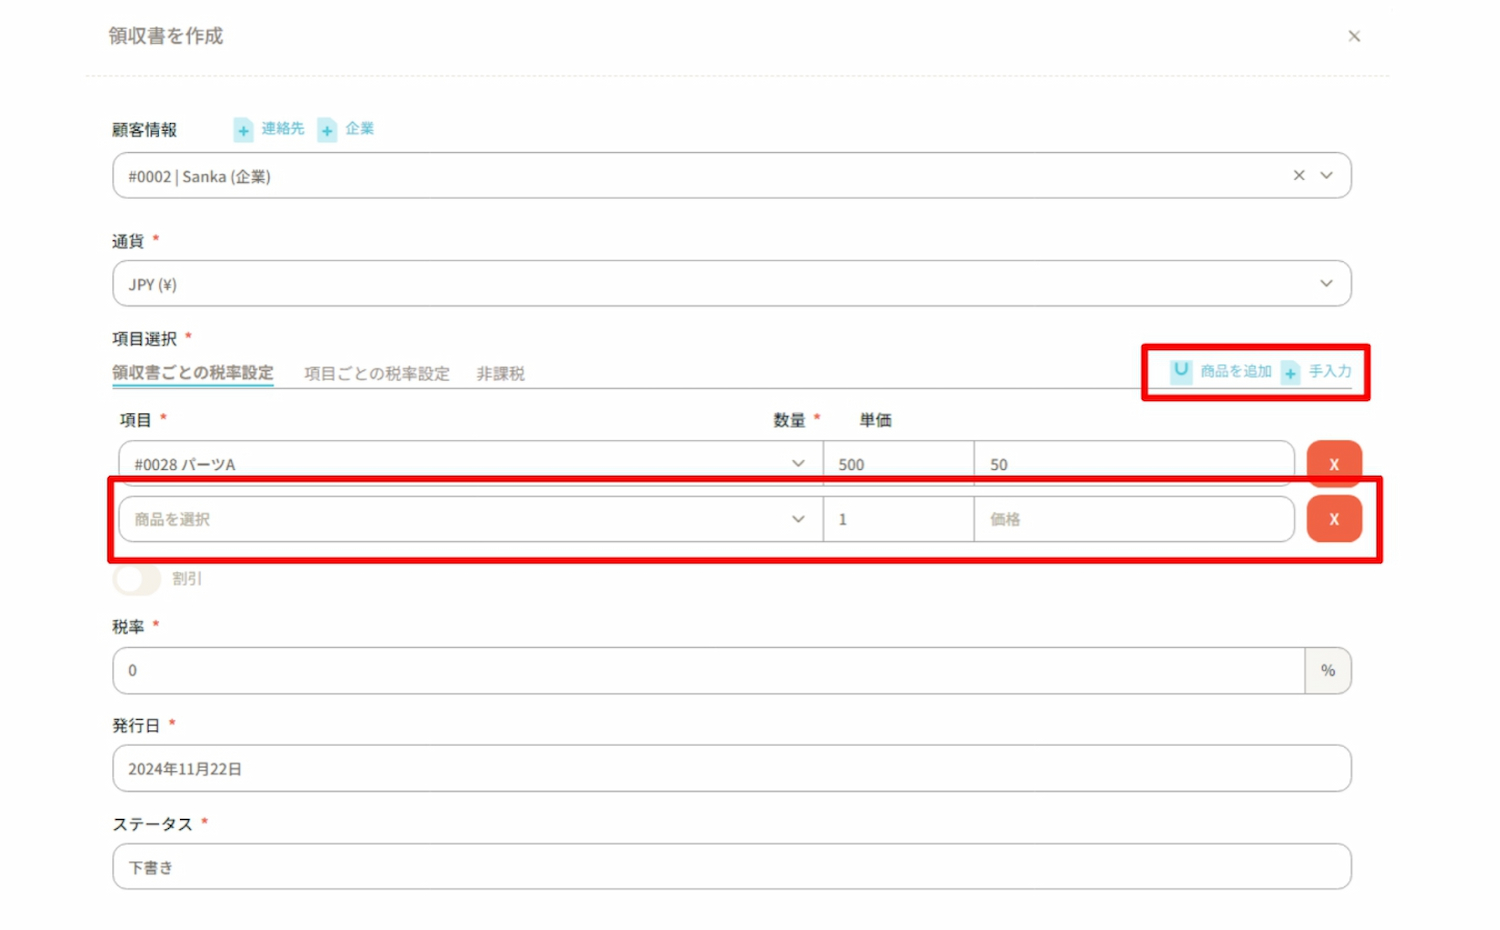
If you would like to add more fields to the deposit record, click on "+ Add Field" in the upper right corner to display a new blank entry.
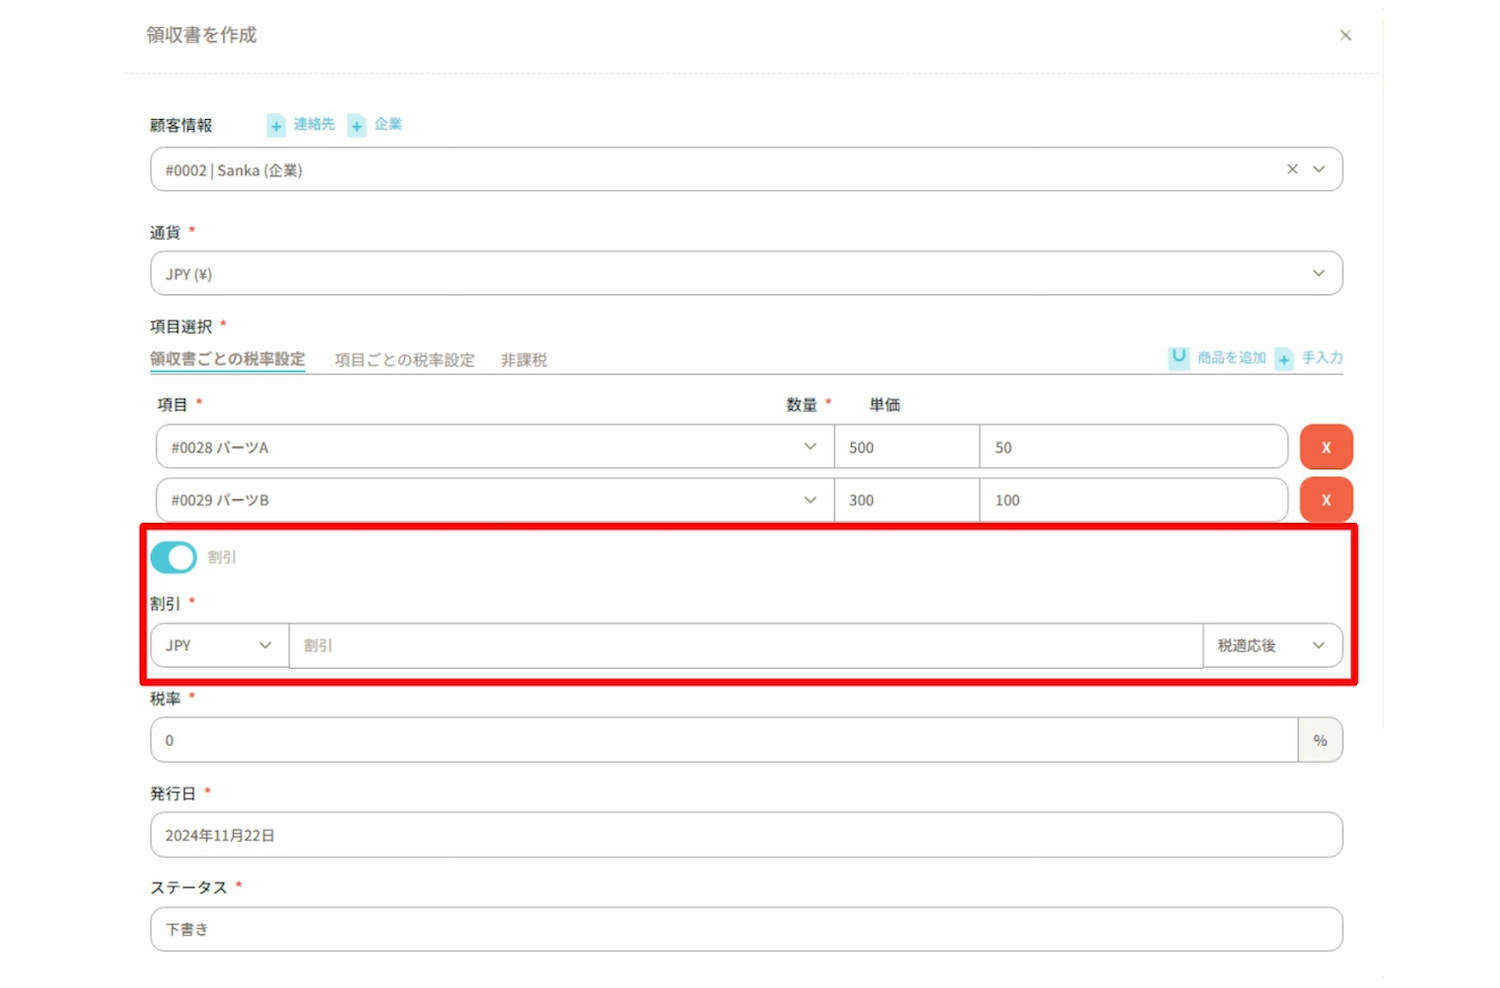
Enter 300 units of Part B.
⑧ If you would like to apply a discount, enable the "Discount" option.
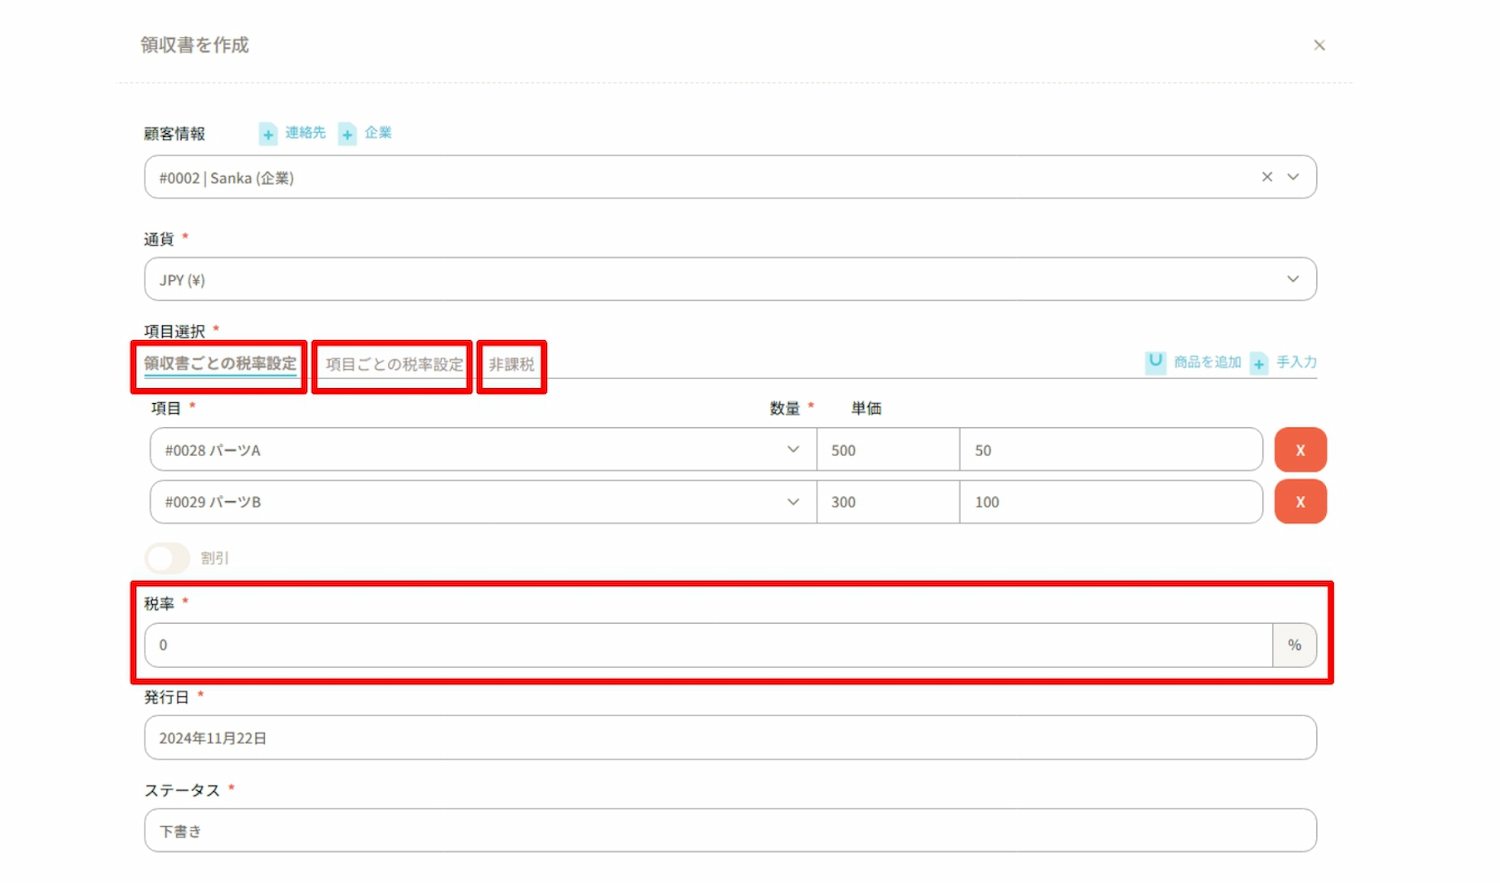
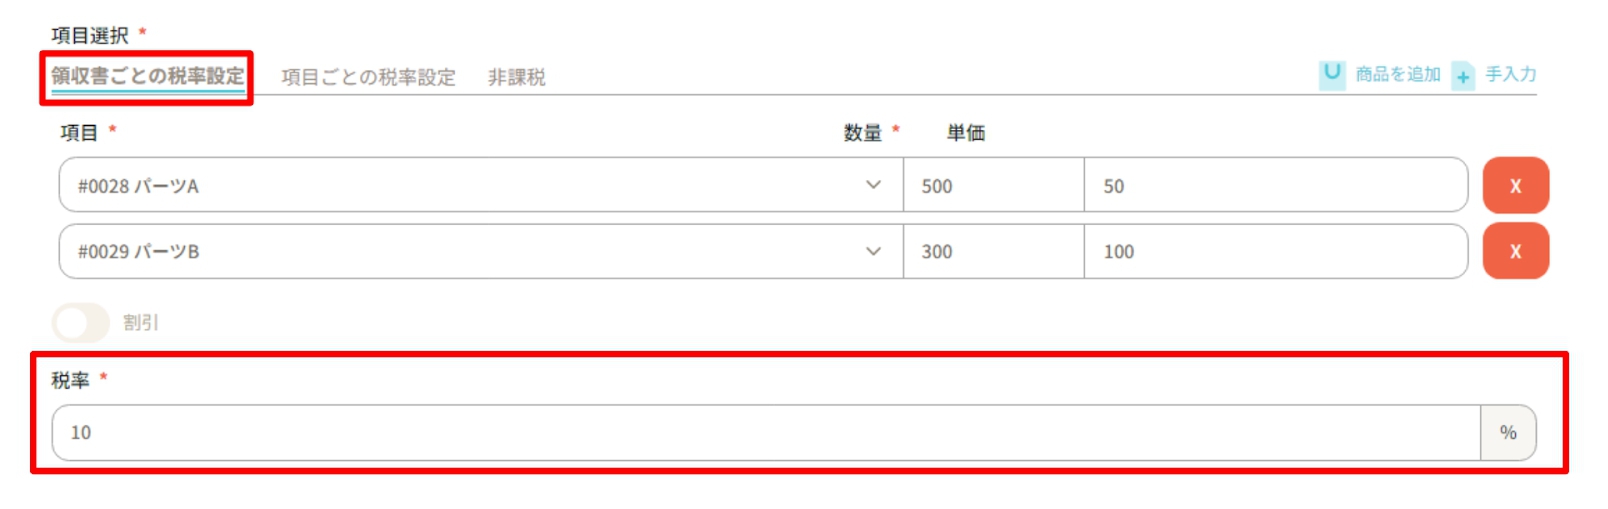
⑨ Enter the "Tax Rate".
The tax rate can be set by one of the following three methods.
・Tax rate setting per record: The same tax rate will be applied to all products in the record.
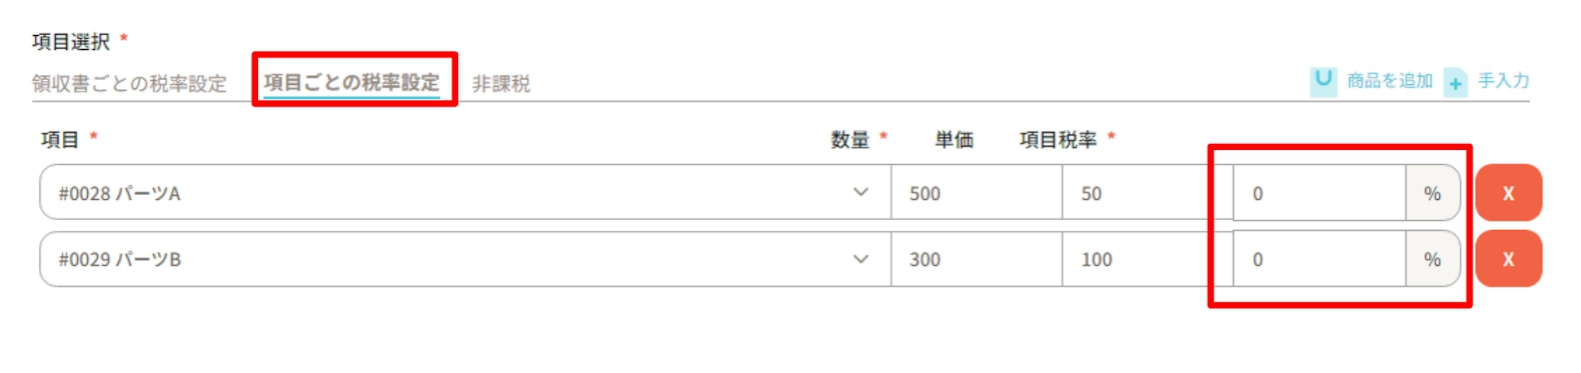
・Tax rate setting per item: Different tax rates can be set for each product.
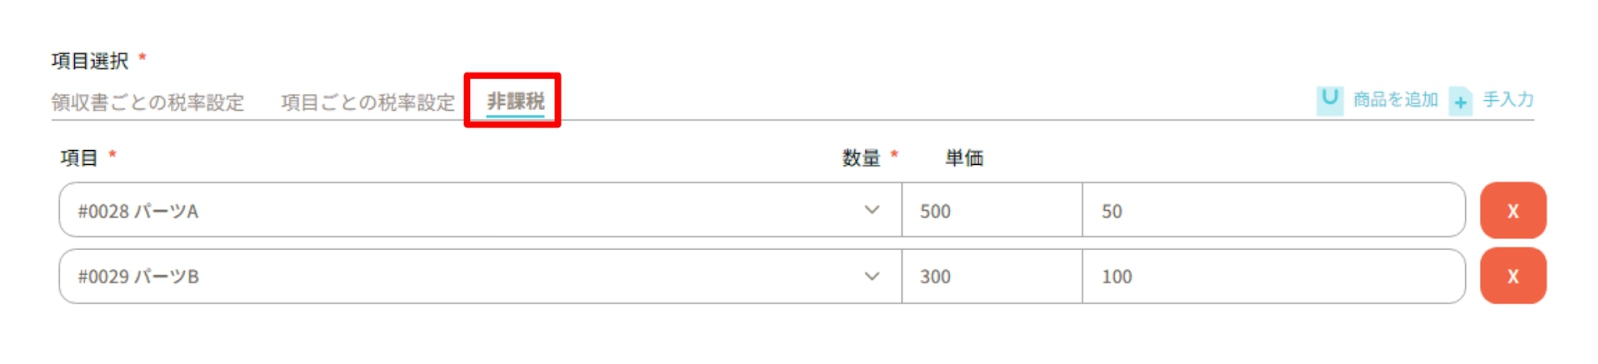
・Non-taxable: No tax rate will be set and it will not be applied to receipts.
Example 1: Tax rate setting per record
Example 2: Tax rate setting per item
Example 3: Non-taxable
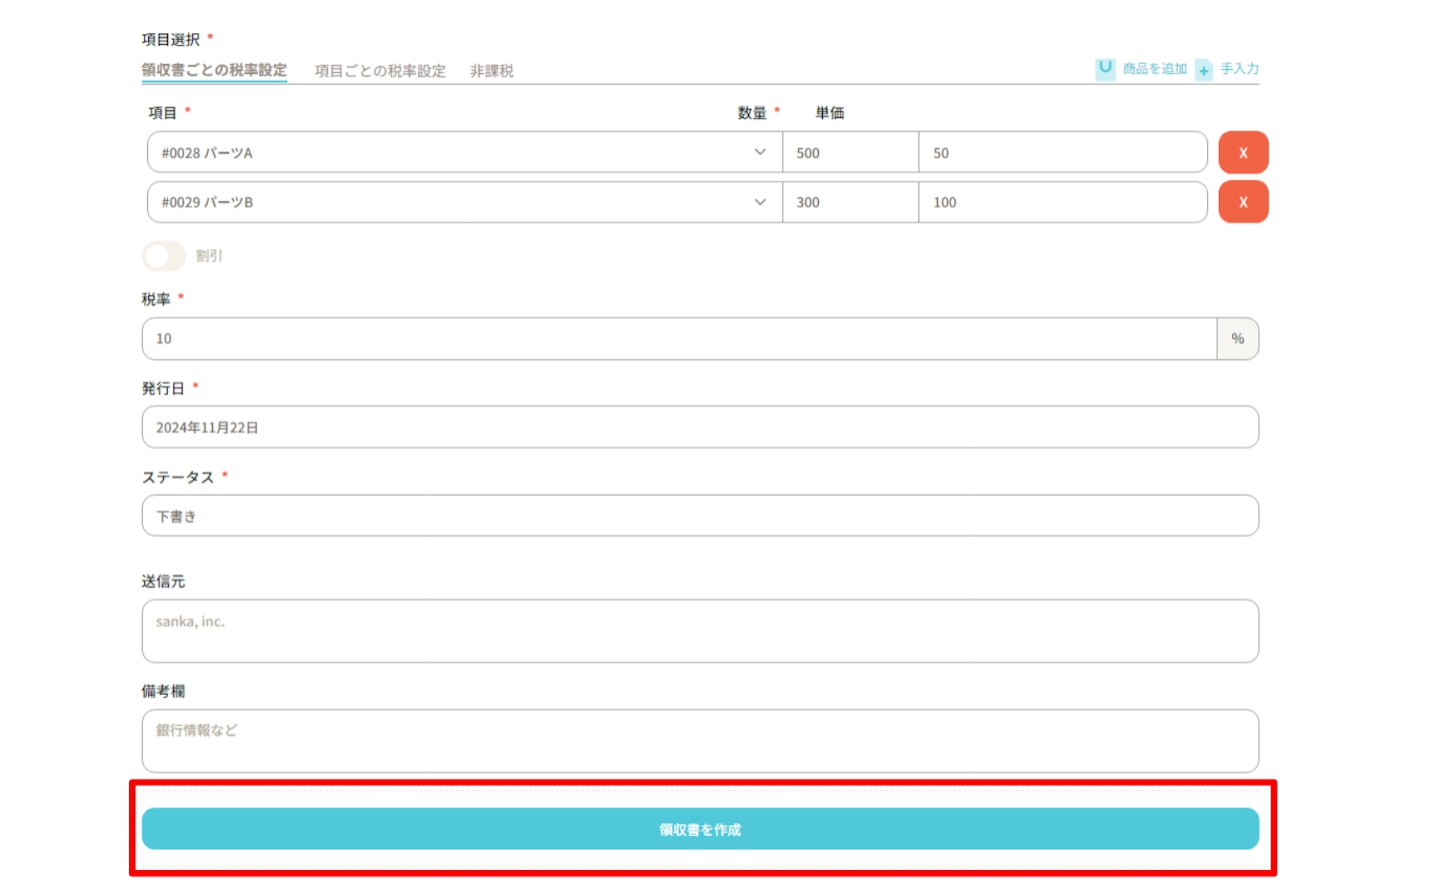
⑩ The “Issue Date” will display the date the record was created by default, but it can be changed if necessary.
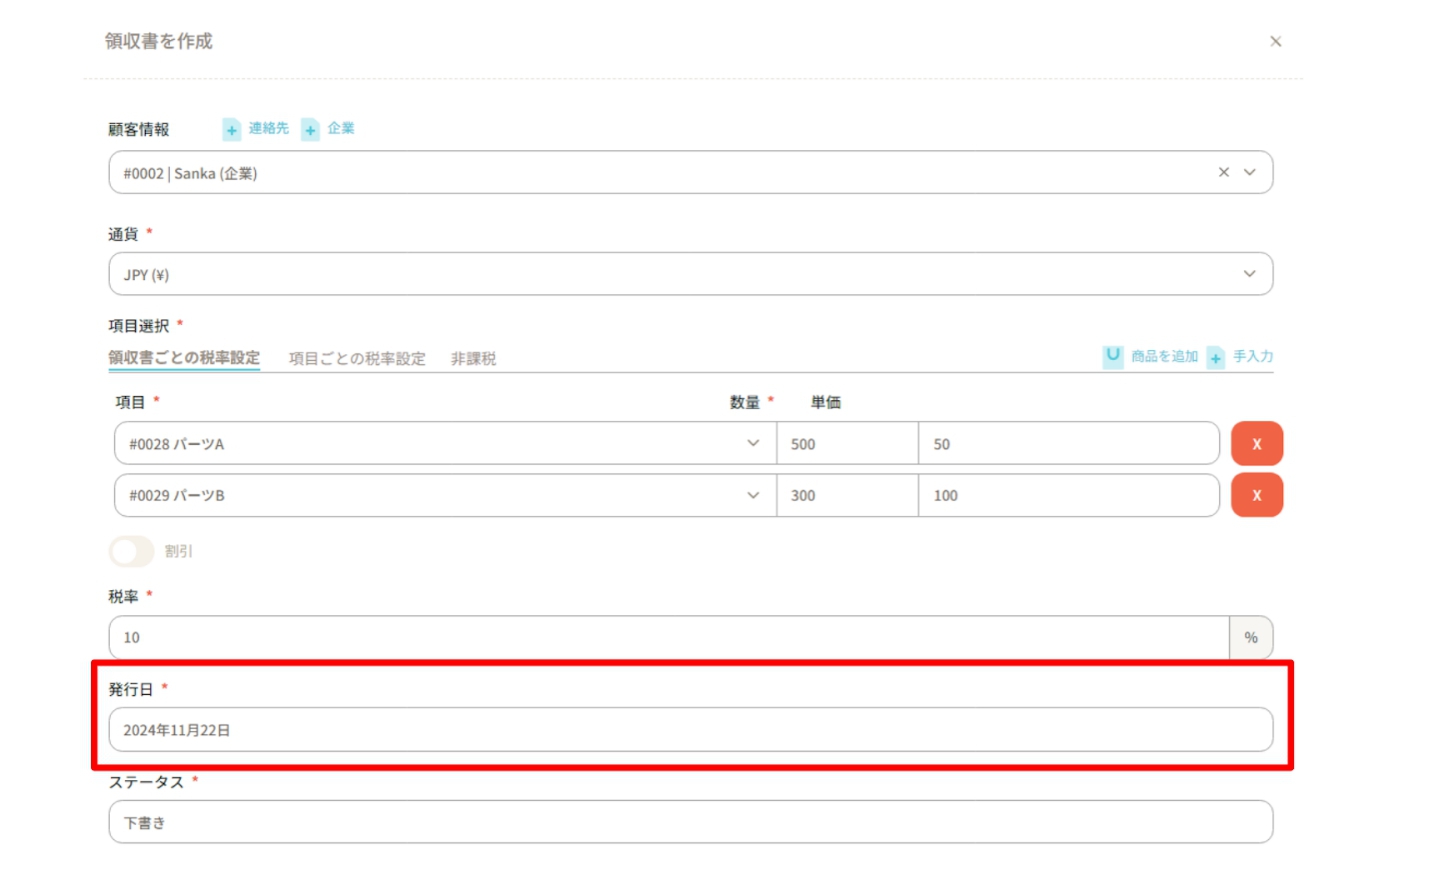
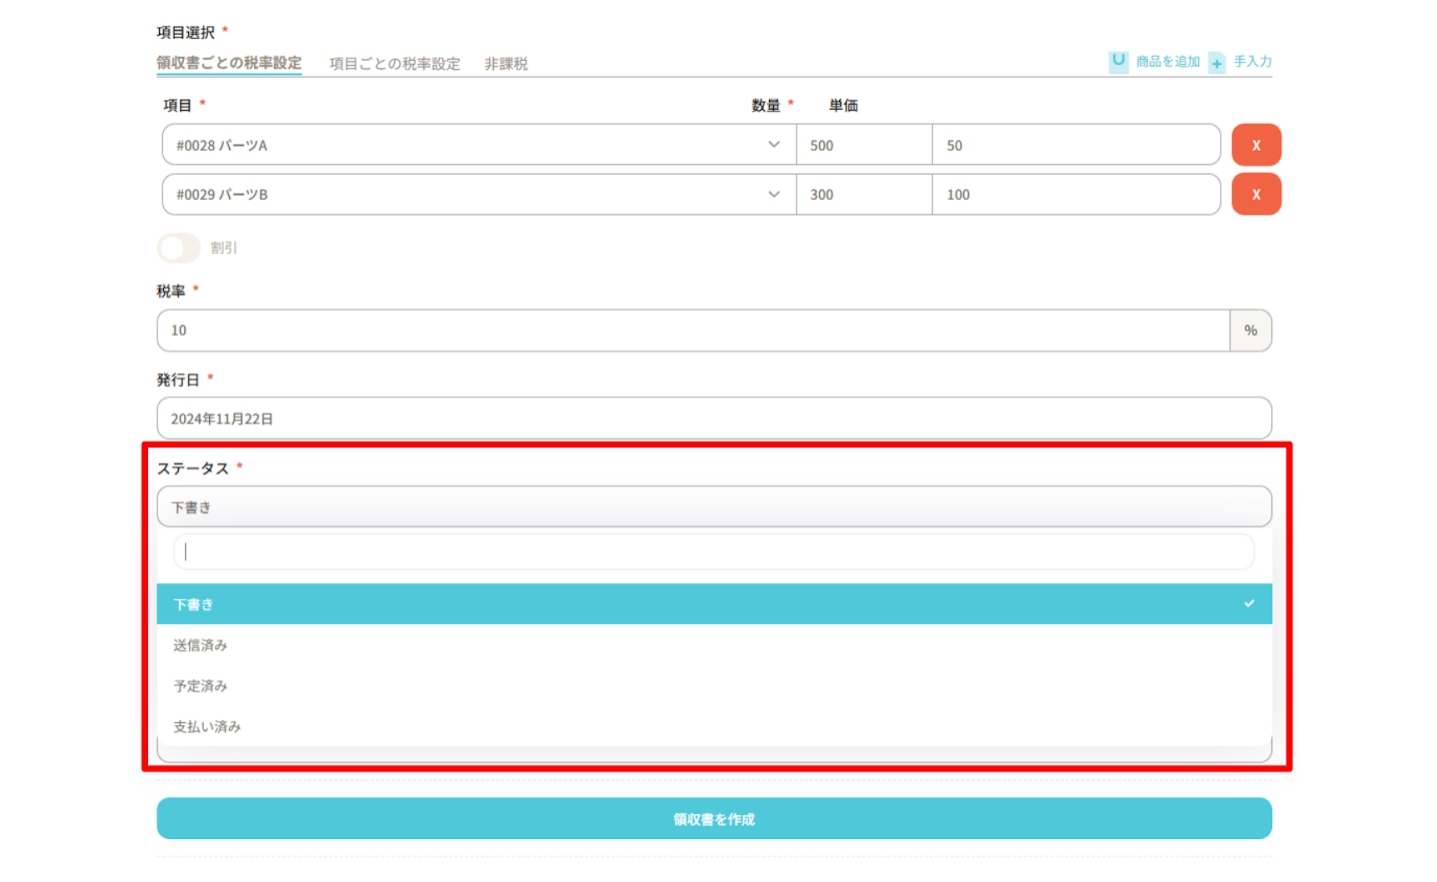
⑪ Select the status of the sales invoice in “Status”.
You can choose from Draft, Sent, Scheduled, or Paid.
⑫ Once you have entered all required information, click “Create Record”.
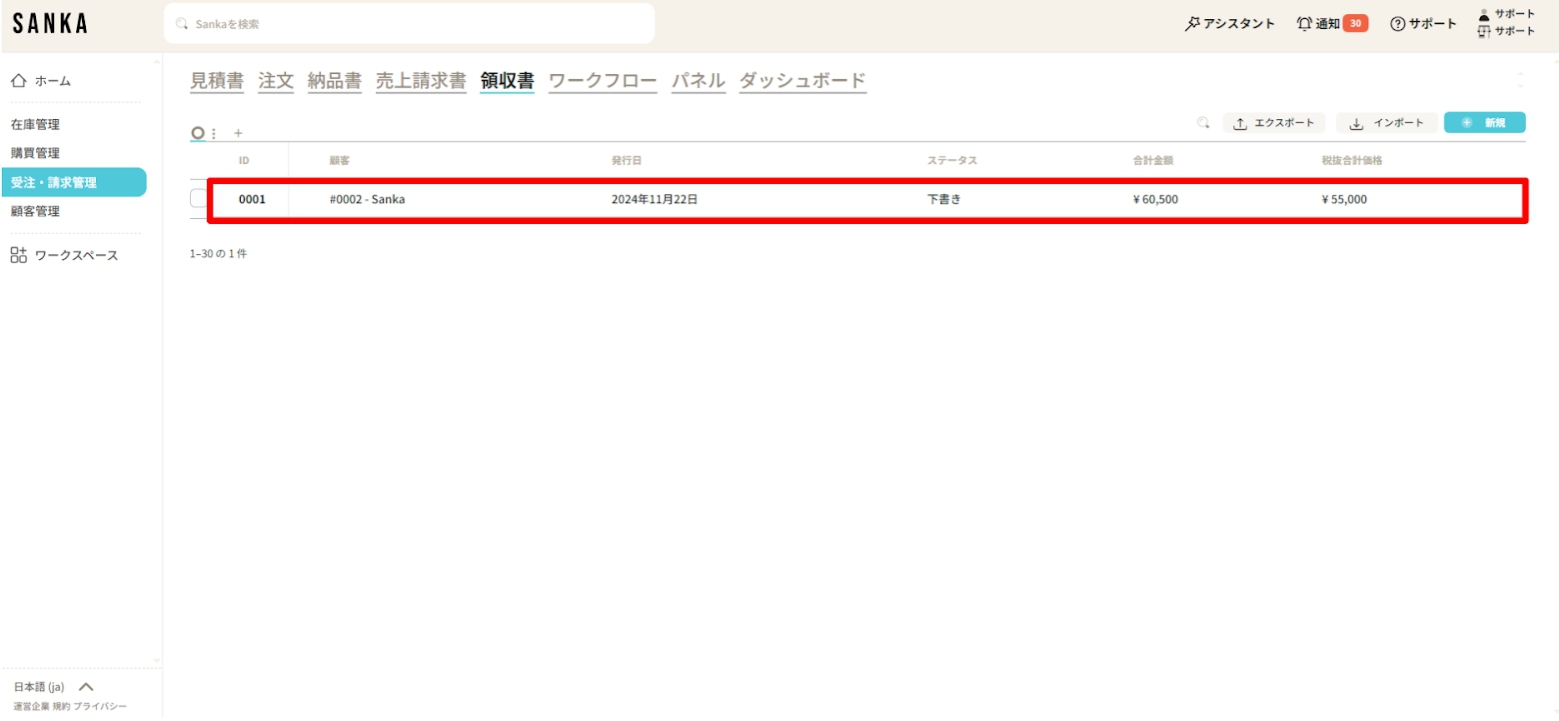
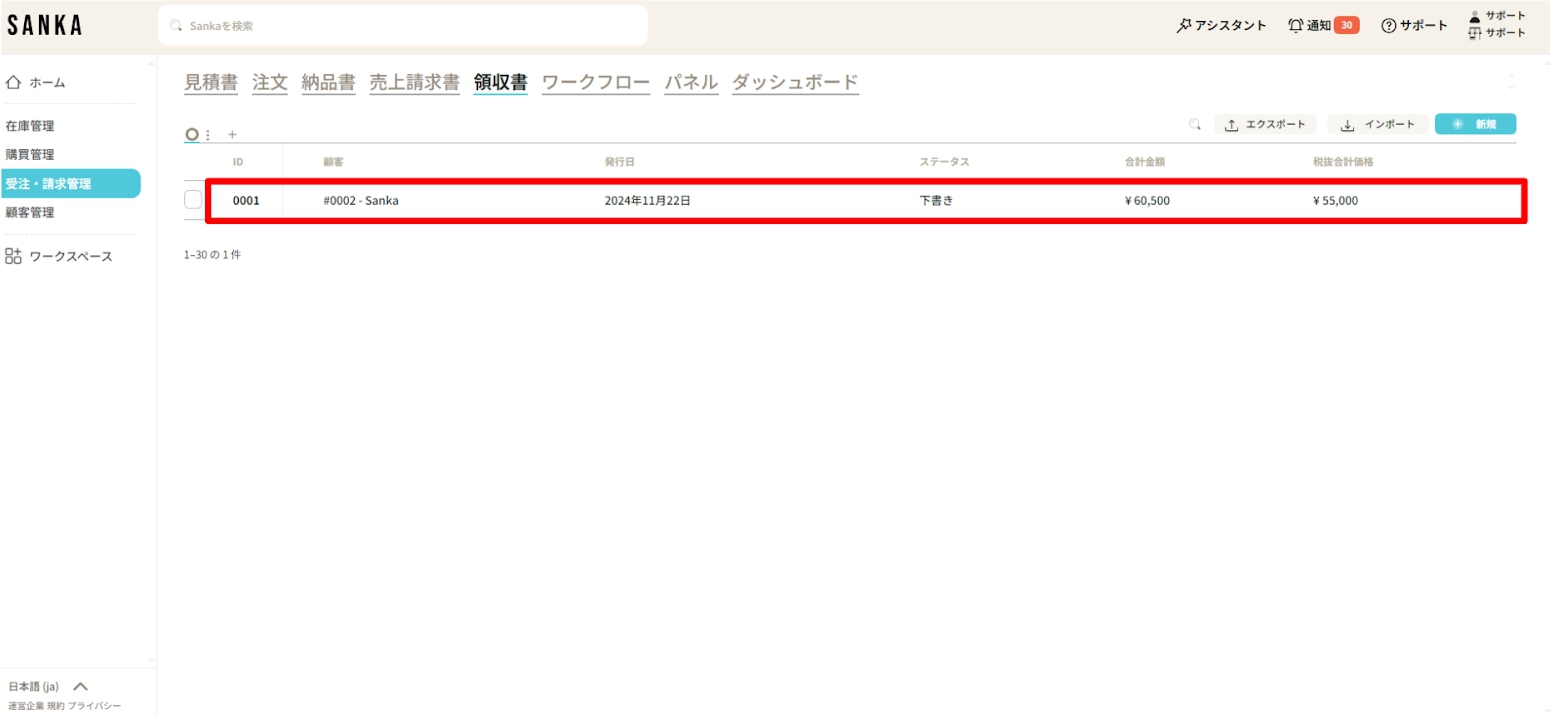
⑬ The details registered on the “Deposit” object screen will be displayed.
“Total Amount” and “Total Price Excluding Tax” are automatically calculated.
In Sanka, to prevent accidental deletion of information, once registered, information cannot be deleted.
Therefore, please be sure to master the procedure for modifying information here.
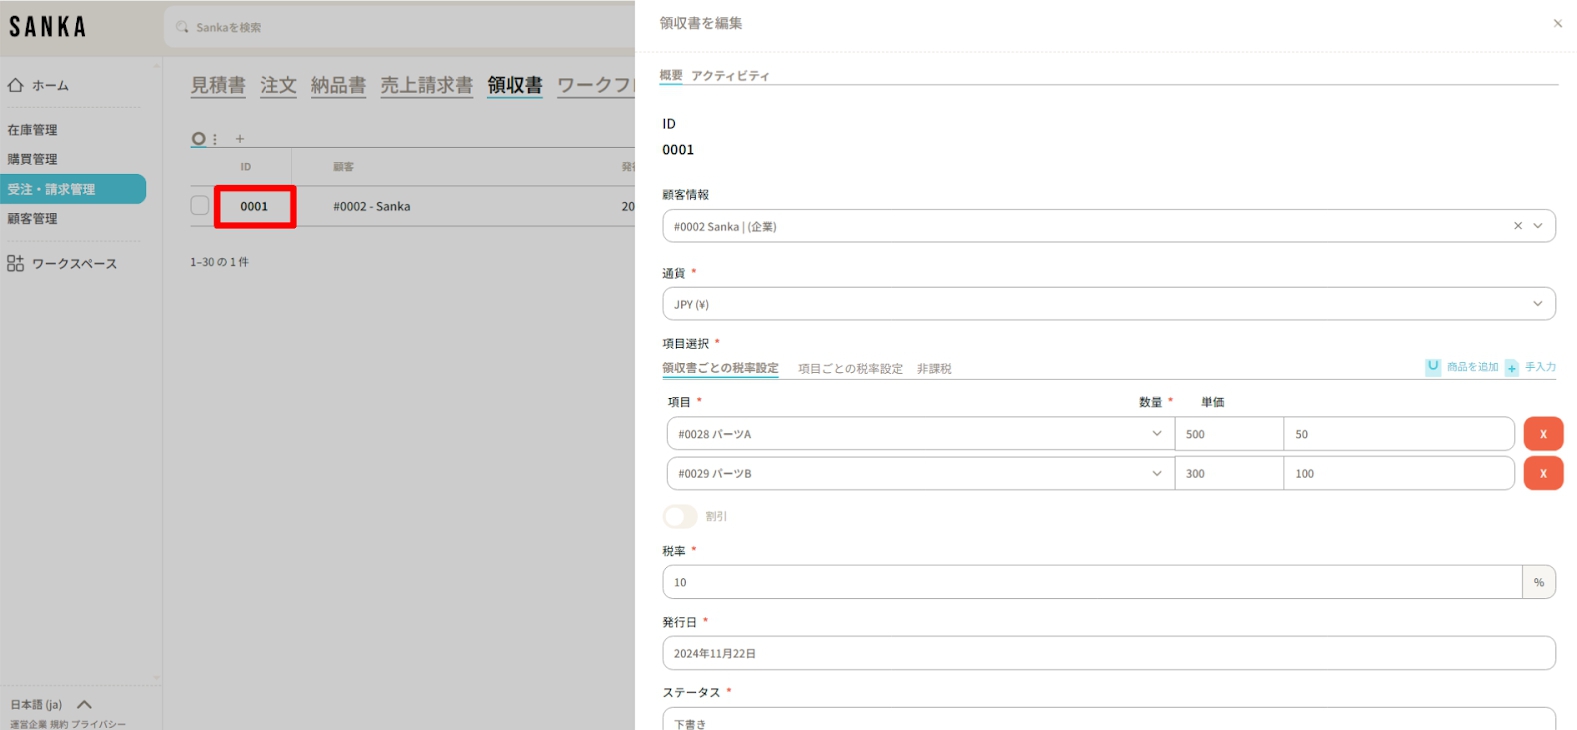
① Select the “Deposit” object.
② Click on "ID" to display the "Edit Deposit Record" menu, which allows you to modify the information.
Lastly, please click "Update".
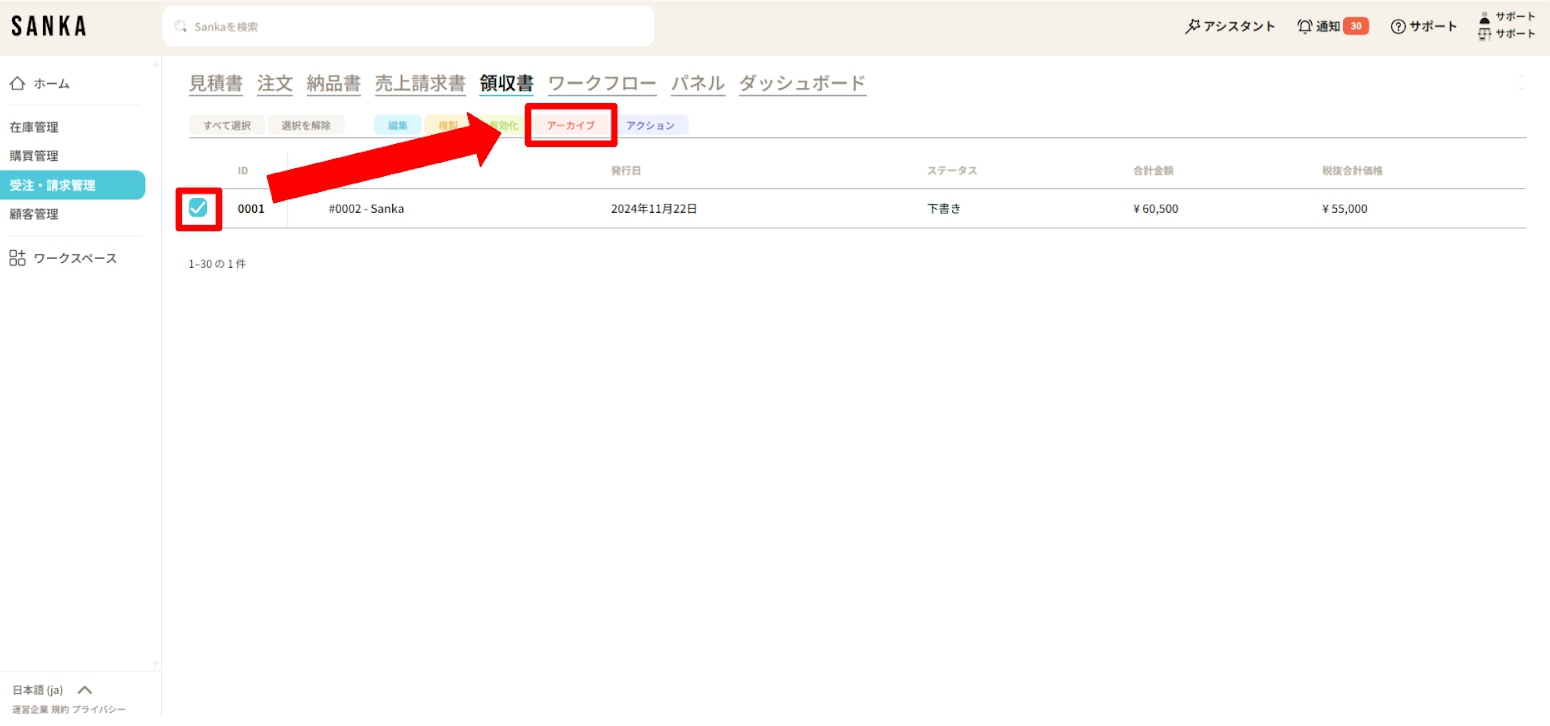
Using the archive function, you can hide receipt information that has been registered from the table.
① Click the box of the receipt you wish to archive and select "Archive".
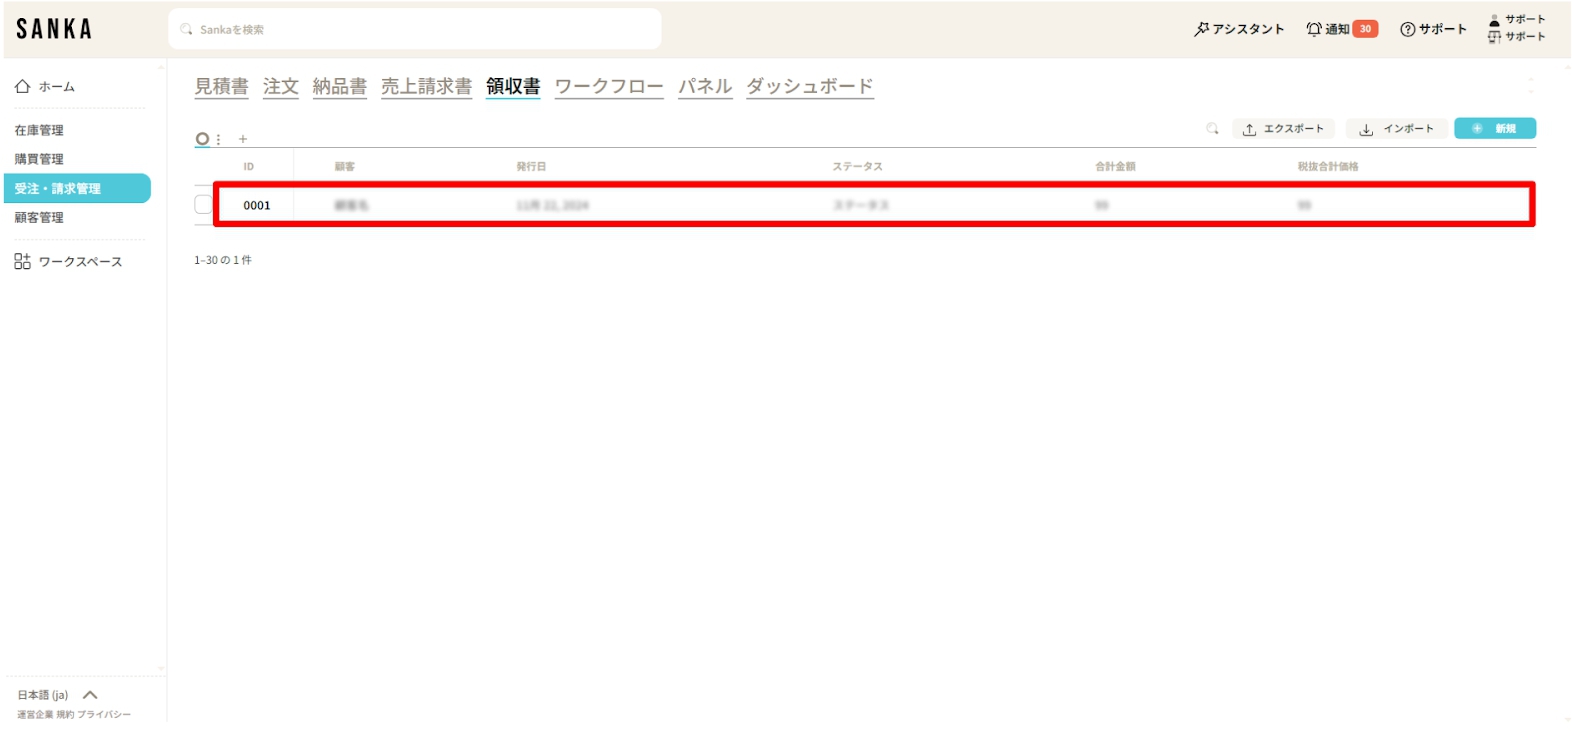
② Receipts that have been archived will be displayed grayed out.
③ If you wish to unarchive, click the box of the corresponding receipt and select "Activate".
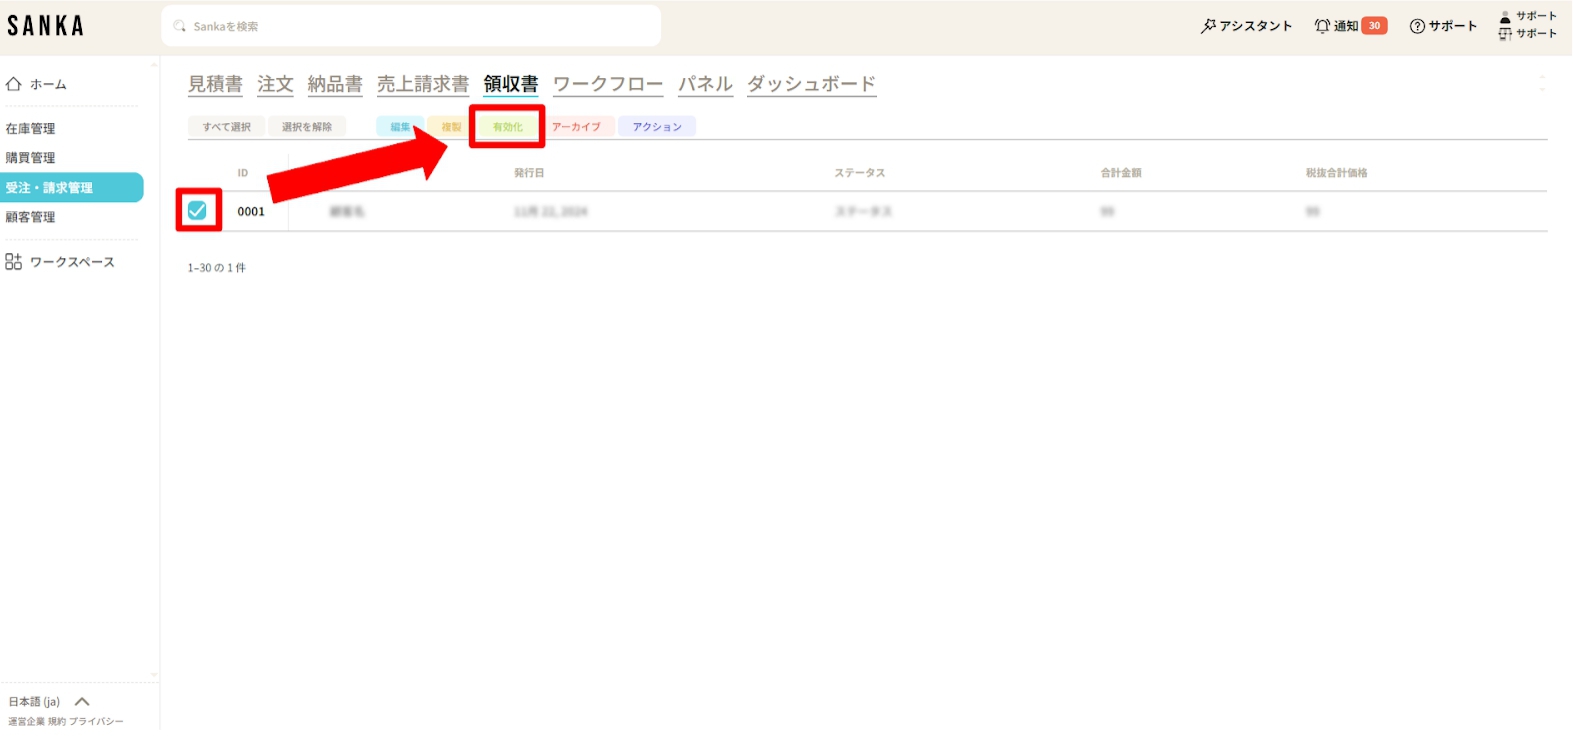
④ The activated receipt will no longer be grayed out, and will return to its standard display.